On-line since 2002
> 600
pages
> 1150 manufacturers
> 11000
pictures
> 1.000.000 unique visitors
87thScale.info does not
spam. If you received a
spam message with an 87thScale return mail
address it is forged.
87th Scale.info TEST
- Create your own waterslide-decals
Just like a lot of other modellers I have always been looking for ways to create my own decals. Especially if you build modeltrucks, the decals are often the finishing touch. To find the decals that match the prototypes however, has always been difficult. Whereas in many cases the correct sheet of decals for your model is available from one of the various decal manufacturers, there are a lot of cases where you would either have to settle for decals that just vaguely resemble the real thing or you just had to leave the model 'as is' without any decals.
Another option would be to paint the text and pictures on the model, but that would require painting skills that not everyone possesses. Fortunately, the prices of computer pheripherals like scanners and colour printers have decreased and thus it has finally come within reach for a lot of people to create the decals they want using blank decalsheets.
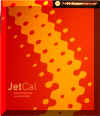
Several manufacturers provide blank decalsheets, and most require that you coat your printed decals before you can put them in water because after all, inkjet ink is water soluble. In this 'test' however, I will be using JetCal decalsheet manufactured by The Decalpaperstore. JetCal decalsheets are sold in packs, A4 sized, and their advantage is that they do not require a coating after the ink has dried. Their disadvantage, if I can call it that, however, is that these sheets are not blank but white. (Shown on the right picture)
Click the thumbnails to see fullsize pictures.
For this test, I have decided to scan a print that could be used on trucks. This is the original scanned picture.

This picture was then imported in MS Word and copied so I could use it for both sides of a 40ft trailer. Apart from these two, I also resized the original to see if I could create smaller decals for smaller trucks. This is the finished sheet after printing:
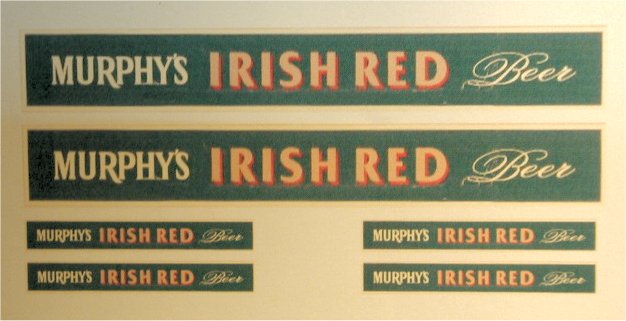
Some additional pictures, two close-ups of the larger decals and two pictures of the sheet before and after cutting.
After the ink had dried, the first 'victim' of my newly printed decals was a Herpa truck that I didn't have decals for yet. (And the model is definately nowhere near finished, I know !). I placed the decals in water as usual, and when I applied the decal to the model it turned out to be transparent to my surprise.

Within minutes however, the decal started to dry and the original colours started to reappear.
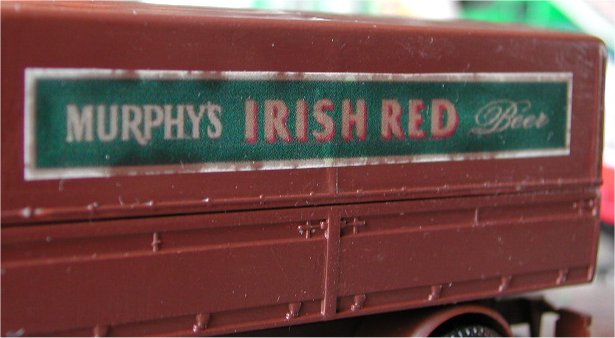
Here are some pictures of the decals after they had dried. The decals have a matte finish when they have dried, and I think they do need a tranparant coating for a better look.
I hope this 'test' has been helpful, and that I have succeeded in trying to show you that making your own decals isn't that difficult and that it doesn't require any special skills, software or hardware. These decals were made using a 48-bit scanner, a PC running MS Windows and MS Word and then printed on a HP720 inkjet printer.
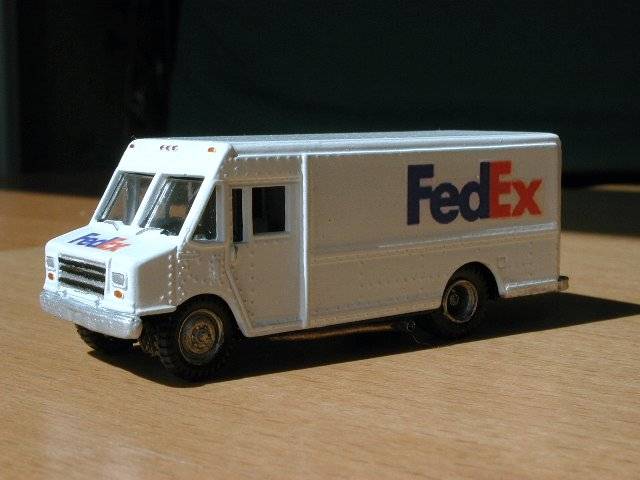
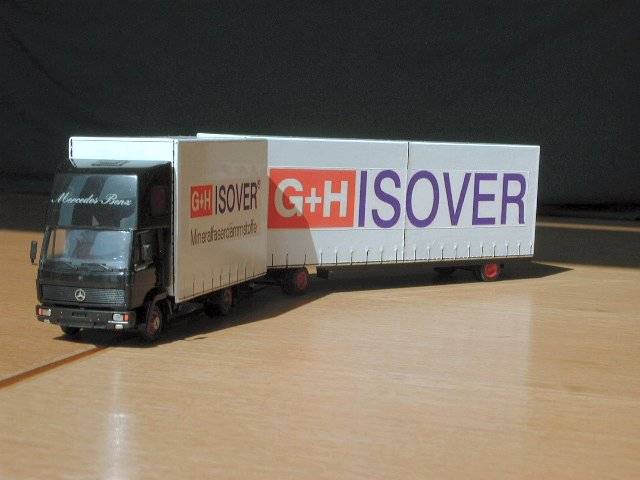
Two other examples of models with decals I've made using the same method:
|
|
|
If the above has raised questions, please let me know and I'll try to answer them !
Back to the 'Tips & Tricks' page

